How to Frame a Picture – Video Tutorial
 For some time now we’ve had many customers asking us what’s the easiest and most economical way to mat and frame their artwork? We posted a video tutorial about how to mat a while ago (click here to watch it), and now it’s time for our new video How to Frame a Picture.
With this detailed video tutorial you will learn the easiest and most effective way of how to frame a print.
Aside from the video, we’ve included in this post a written guide about How to Frame a Picture and links to each of the products needed (with all the possible variables like sizes, colors, etc). We’ve also included a contact form at the end of this post in case you would like more information about this matter.
1. List of products needed:
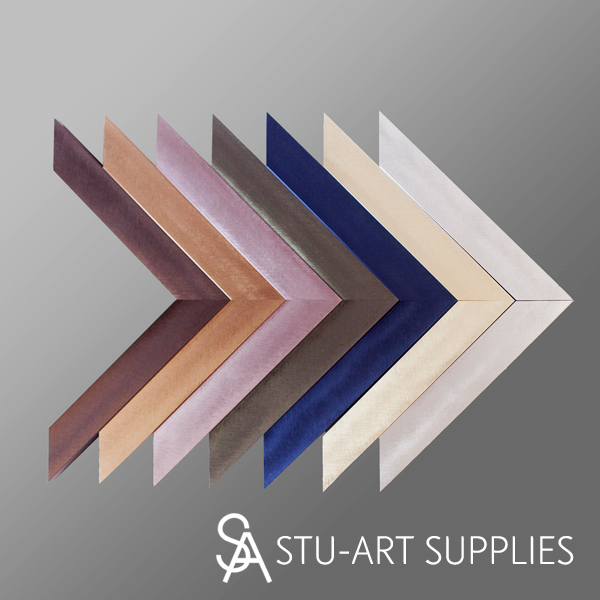
• Nielsen® Metal Frames
Even if you are just looking for a frame to use at home or you’re a professional artist looking for the perfect frame to compliment your artwork, at Stu-Art Supplies you will find more than 30 varieties of Nielsen® frames, colors and multiple sizes available.
Buy Nielsen® frames
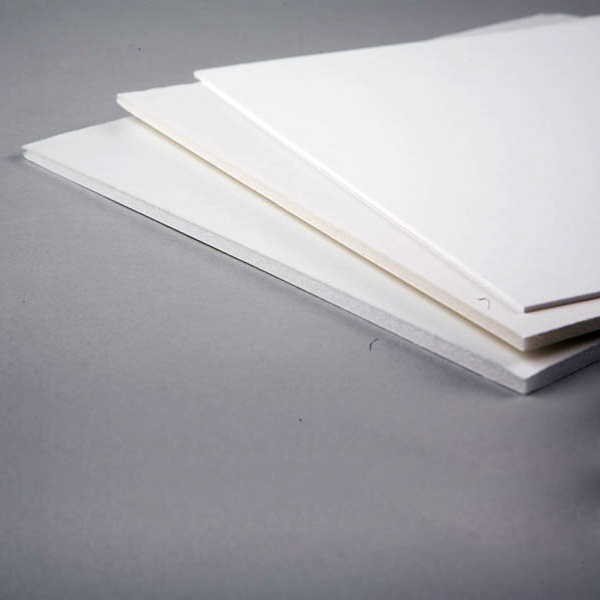
• Foamboard
Lightweight yet sturdy enough to resist denting, ideal for all non-archival mounting applications. Crisp, clean cuts and edges every time. Clay-coated for an extra smooth surface, this multi-purpose foamboard is bright white on both sides. Available in different sizes and thickness.
Buy Foamboard
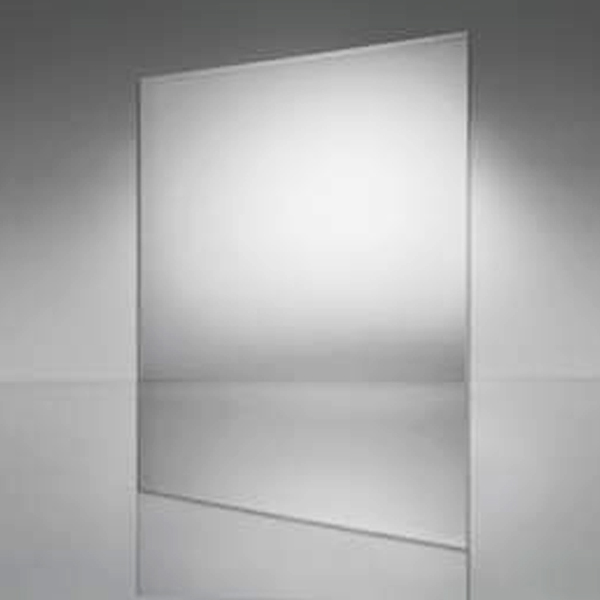
• Acrylic Panels
Stu-Art Supplies offers acrylic glazing available in clear and non-glare panels to be used as a lightweight, shatter resistant alternative to glass. Available in clear or nonglare panels. Also available in different sizes and thickness.
Buy Acrylic Panels
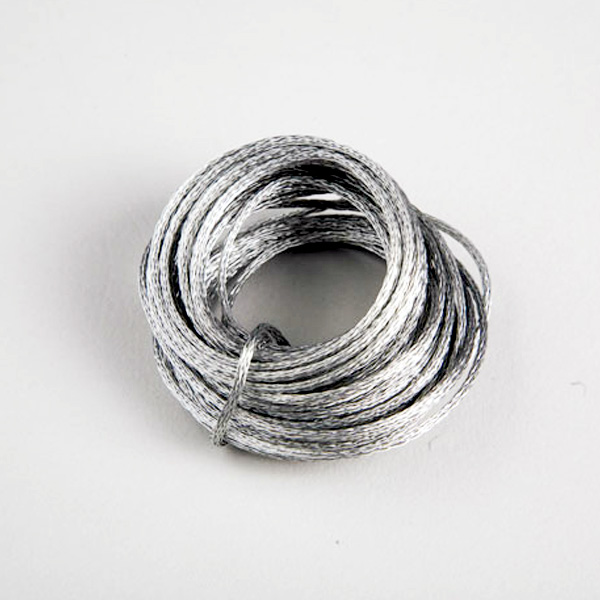
• 15 ft Coil #4 Braided Picture Wire
Lightweight but high resistant coil braided picture wire.
Buy 15 ft Coil #4 Braided Picture Wire
2. Video Tutorial: How to Frame a Picture
[You can also watch it on YouTube] Click here to Visit our on-line store and get all you need3. Written Guide: How to Frame a Picture
Follow these easy instructions and your artwork will be framed and ready in less than 10 minutes:

b) Prepare your artwork by adding a foamboard backing behind it and an acrylic panel on its front (take off the films that protect both sides of the acrylic panel).
Important note: For more information about How To Mat a Picture, please watch this video tutorial.
c) Put the 4 legs of the frame face down on the table, so you can see their backs.
d) Open the bag of assembly hardware and take the 4 flat plate corners with screws and 4 flat plate corners without screws.
e) Take one of the flat plate corners with screws. Unscrew them until the other side of that plate (the side without the word “Nielsen” on it) is completely flat. Add one of the flat plate corners without screws to that flat side. Now you have a “sandwich” with both plates together.
f) Slide both plates together into the track of the frame leg. Connect another leg of the frame on the other side of the plates (making sure it’s not the same size unless it’s a square frame). Now both legs are making a 90o angle. Hold the corners and use your screwdriver to tighten the screws down, not too much just enough to keep both legs of the frame firmly together. Be careful not to strip the screw.
g) Repeat e and f again, until you have 3 legs of the frame made leaving one side of the frame open to slide your artwork into it.
h) Face up the 3 legs frame so you can see its front. Take your artwork (with the backing foamboard behind and the acrylic panel on its front) and slide it into the frame.
i) Flip over the frame again (face down on the table) and add its last leg making sure the last 2 hardware sets are in that leg. Repeat e and f again, until you have the whole frame mounted with your artwork inside.
j) With your frame and artwork still face down, take the spring clips from the assembly hardware polybag and introduce them between the frame and your artwork. The spring clips push your artwork upfront (taking out the slack on the back).
k) Take the (2) bumpers from the assembly hardware polybag and adhere them to the bottom of the frame (at its highest point). The bumpers will protect the wall when hanging (avoiding scratches on both the frame and the wall).
l) Take the (2) hangers from the assembly hardware polybag and introduce them both into the hardware tracks of the frame at the same distance (about ⅓) from the top. Use your screwdriver to tighten both hangers down into the frame (just enough to make it snug).
m) Cut a piece of braided picture wire, long enough to connect both hangers. Leave a bit of slack and go around the wire, tightly to your artwork.
n) Done. Your artwork is framed and ready to hang.
4. Contact us for more information about How to Frame a Picture:


About The Author
Stu-Art Supplies
Stu-Art Supplies has been serving the art community for more than 50 years. We are a second generation family business which strives to provide our customers quality products at the most reasonable prices. Our manufacturing facility is located in Baldwin, NY and we have been shipping our products throughout the US and Canada since 1965. Our business was developed to help both professional and amateur artists, photographers, students & hobbyists mat and frame their artwork themselves thereby saving them the cost of having to get their mats and frames from a custom frame shop or struggle with the difficulty and frustration of trying to cut their own mats. Our product line offers artists, photographers and art & craft hobbyists a way to frame, mat and display their artwork in an aesthetically pleasing manner at the lowest possible cost. Stu-Art Supplies is owned and operated by Lisa Hubley and Andrew Ray. Visit our On-line Store